Pi-Hole Pi4 Docker Deployment
During the holiday season, I've tried many different self-hosting solutions. But one of the most basic options is setting up a Pi-Hole DNS for your home. While the installation is pretty easy, I wanted to use docker on my Pi4, which would be an excellent way to get started. Having this as a docker would allow me to quickly redeploy if there was an issue, as DNS is crucial.
To get started, you must install docker and docker-compose, which is pretty straightforward. Just follow this guide: https://qbee.io/docs/installing-docker-on-a-Raspberry-Pi.html. Also, ensure you have a static IP address set for your Pi.
I put my docker files in /usr/local/docker, so you must create this folder.
We will also map a couple of local directories into the dockers so we can have these configs persistent and easy to backup.
Copy the compose file below to /usr/local/docker/docker-compose.yaml
Compose File Config
We are going to be running 2 dockers for this setup. The Cloudflare docker will be used to send our DNS lookup upstream encrypted using DNS over HTTPS (DOH) to the provider. In the docker-compose file(1), I've specified OpenDNS as primary and one of the Cloudflair filtered as a backup. You can change this to any server you want to use.
Cloudflared Changes
-TUNNEL_DNS_UPSTREAM
Pi-Hole Changes
-Set WEBPASSWORD to a unique password for web page login
Once you have the basic config, you need to start the dockers.
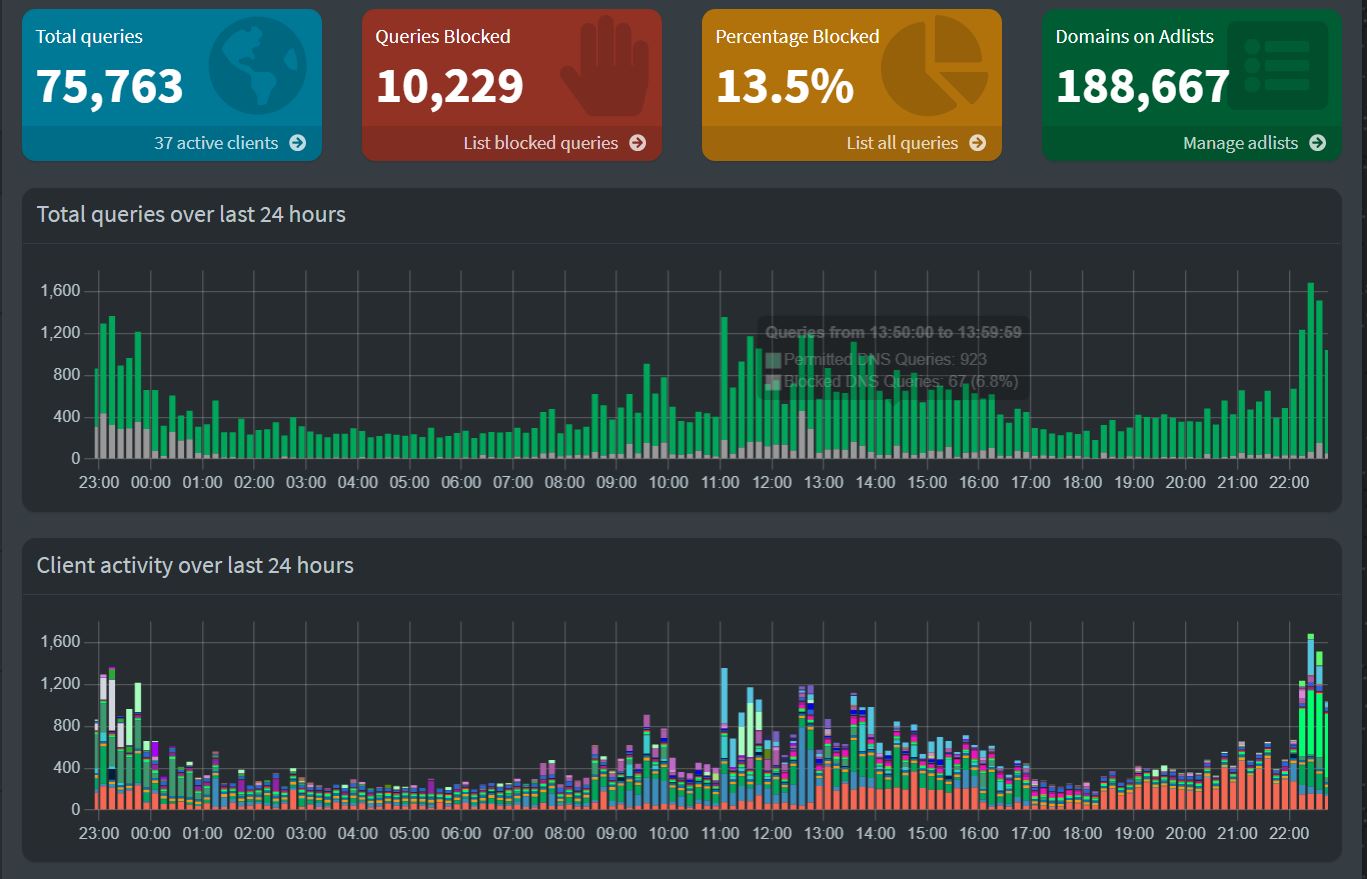
Pi-Hole Web Interface
Now that you have it up and running, we need to add some blocking. From the left menu click on domains. Then click the RegEx filter tab at the top.
To block an entire domain of TK, use the following.

I would review and use most of the domains in the Palo Unit42 write-up of malicious TLDs (2).
Once done with your regex domains, you want to set up what adlists you want to use. There are many list collections, but Firebog seems the best(3). The main thing is the more you put in there, the slower it could become.
Testing
Once you get everything set up, I'd manually set up a PC to use your Pi-hole as the DNS server for a day or two to ensure everything is working well before you switch over and have a family revolt if something breaks.
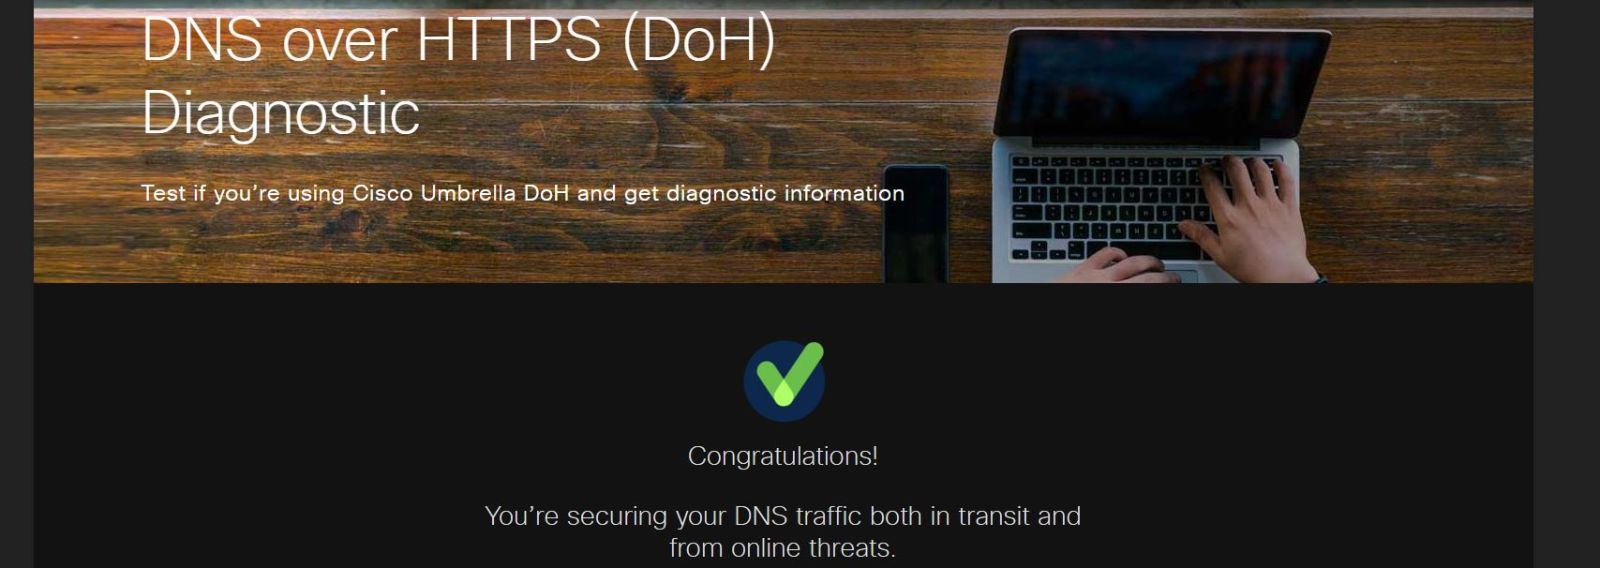
If you are using OpenDNS for lookups, then you can use their test site (4) to test to ensure your DNS queries are encrypted. If you use 1.1.1.1, you can test on their help page (5) and see if you are encrypted. Most providers have a test page to check to see if its working as intended.
When you are ready to start taking support calls from the family, you can make the needed changes on your router to start using Pi-hole as your primary DNS server.
Home router settings
-If you are going to use DHCP on your home router, then you need to set it to give your Pi-hole IP address as the DNS server.
-If you are going to do DHCP and DNS on the Pi-Hole, you will need to turn off DHCP on your router.
Backup
Make sure you backup your config from the GUI at least and save it just in case.
Settings->Teleproter->Backup
Links
- https://github.com/tcw3bb/ISC_Posts/blob/master/pi-hole-docker-compose.yaml
- https://unit42.paloaltonetworks.com/top-level-domains-cybercrime/
- https://firebog.net/
- https://umbrella.cisco.com/doh-help
- https://1.1.1.1/help
I have several more projects in the works to talk about for my home lab. Let me know what you worked on over the holidays.
--
Tom Webb
@tom_webb@infosec.exchange


Comments